Hey there, ice cream lover!
Imagine creamy, velvety scoops of your favorite flavor, made right in your own kitchen—no fancy equipment required. Homemade ice cream beats store-bought hands down with its richer taste and that delightful sense of accomplishment. Plus, it’s super quick to whip up with simple pantry staples—so why not give it a try? Think of this as your new go-to treat for sunny days or cozy nights. And hey, if you’re feeling adventurous, why not pair your ice cream with a quick fruit compote or a sprinkle of your favorite nuts? It’s all about customizing and having fun in your kitchen!
Warning: Once you start, you might be hooked on the homemade goodness!
Ready to scoop away? Let’s get churning!
Homemade Vanilla Ice Cream
Ingredients
Equipment
Method
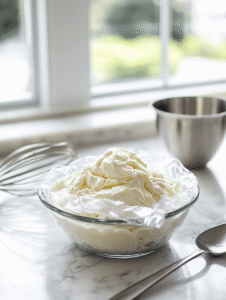
- Combine the heavy cream, whole milk, granulated sugar, and vanilla extract in a large mixing bowl. Whisk until the sugar is completely dissolved and the mixture is smooth, with no granules visible.

- Pour the mixture into an ice cream maker container or a freezer-safe dish. If using an ice cream maker, follow the manufacturer's instructions to churn the mixture until it reaches a soft-serve consistency, about 20-25 minutes.

- If you do not have an ice cream maker, cover the dish with plastic wrap and place it in the freezer. Every 30 minutes, remove it and stir vigorously with a spatula or whisk to break up ice crystals. Repeat this process 3-4 times over 2-3 hours until the ice cream is thick and creamy.
- Once the ice cream reaches a firm yet scoopable consistency, transfer it to a serving bowl or store it in an airtight container in the freezer for at least 2 hours to firm up further.

- Serve the homemade vanilla ice cream with your favorite toppings or alongside fresh fruit. Observe the smooth, glossy surface and creamy texture as perfect indicators of readiness.
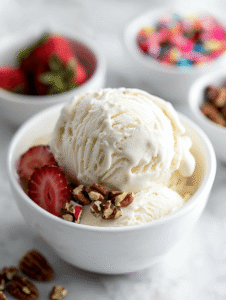
Ta-da! You’ve just made your own deliciously rich ice cream—trust me, it’s worth every second. For an extra special touch, try topping it with fresh berries or drizzling a bit of chocolate sauce. Can’t wait to hear how yours turns out—share your flavors or tricks in the comments!
Happy cooling and savoring!
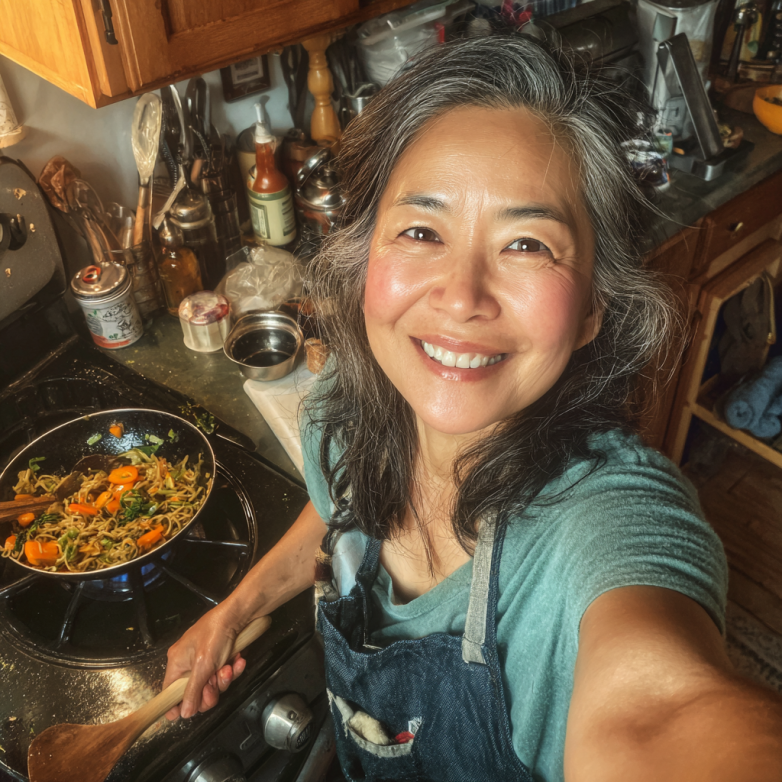
Hi, I’m Olivia Chen-Williams, a professional chef, cooking instructor, and the founder of Turn Around At 50. For nearly three decades, my life has revolved around kitchens. Not the quiet, romantic kind, but the real ones. Hot, loud, demanding, and deeply alive.