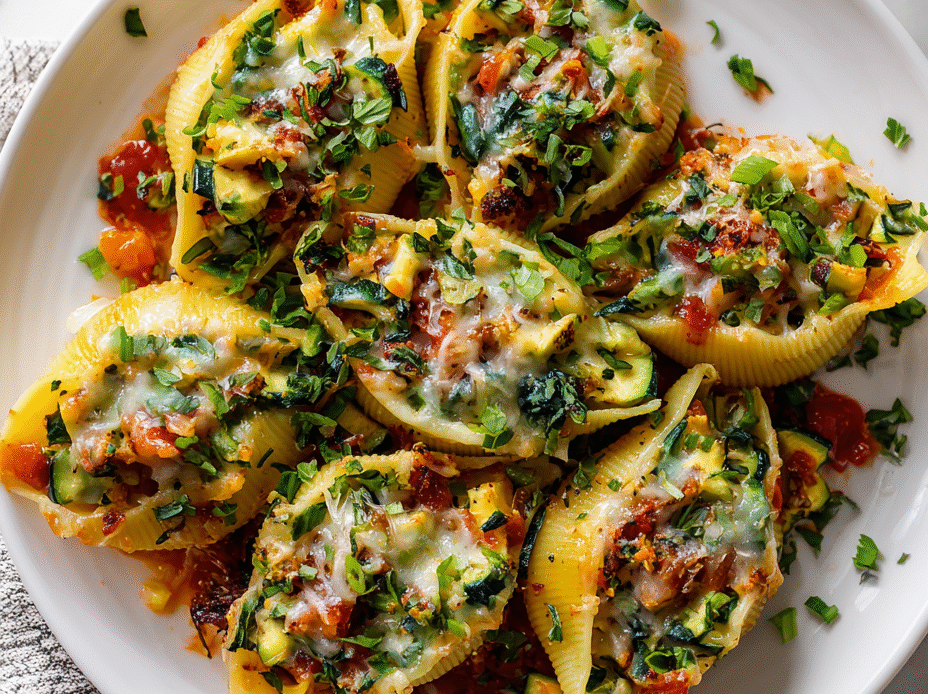
This vegetable stuffed shells recipe is a nod to the joy of turning familiar comfort food into something bursting with freshness. I love how the colorful array of roasted veggies peeks out from each shell, making the dish feel like a celebration of seasonal produce. It’s honest cooking—using what’s in the fridge and making it feel special.
There’s a quiet satisfaction in chopping up vibrant vegetables and stuffing them into plump pasta shells. It’s not about perfection; it’s about the process—messy, fragrant, a little chaotic—and ending with a dish that’s both nourishing and lively. It’s the kind of meal that feels like a hug but with a bright, veggie-driven twist.
This recipe is inspired by the idea of transforming a classic comfort food into a vibrant, vegetable-forward dish that celebrates seasonal produce and makes the filling the star. It’s about finding joy in simplicity, using everyday ingredients, and turning something familiar into a fresh, healthful meal.
Celebrating Seasonal Veggies in Pasta
- This dish reminds me of lazy summer afternoons spent in my grandma’s kitchen, where fresh zucchini and peppers filled the air with a sweet, smoky aroma.
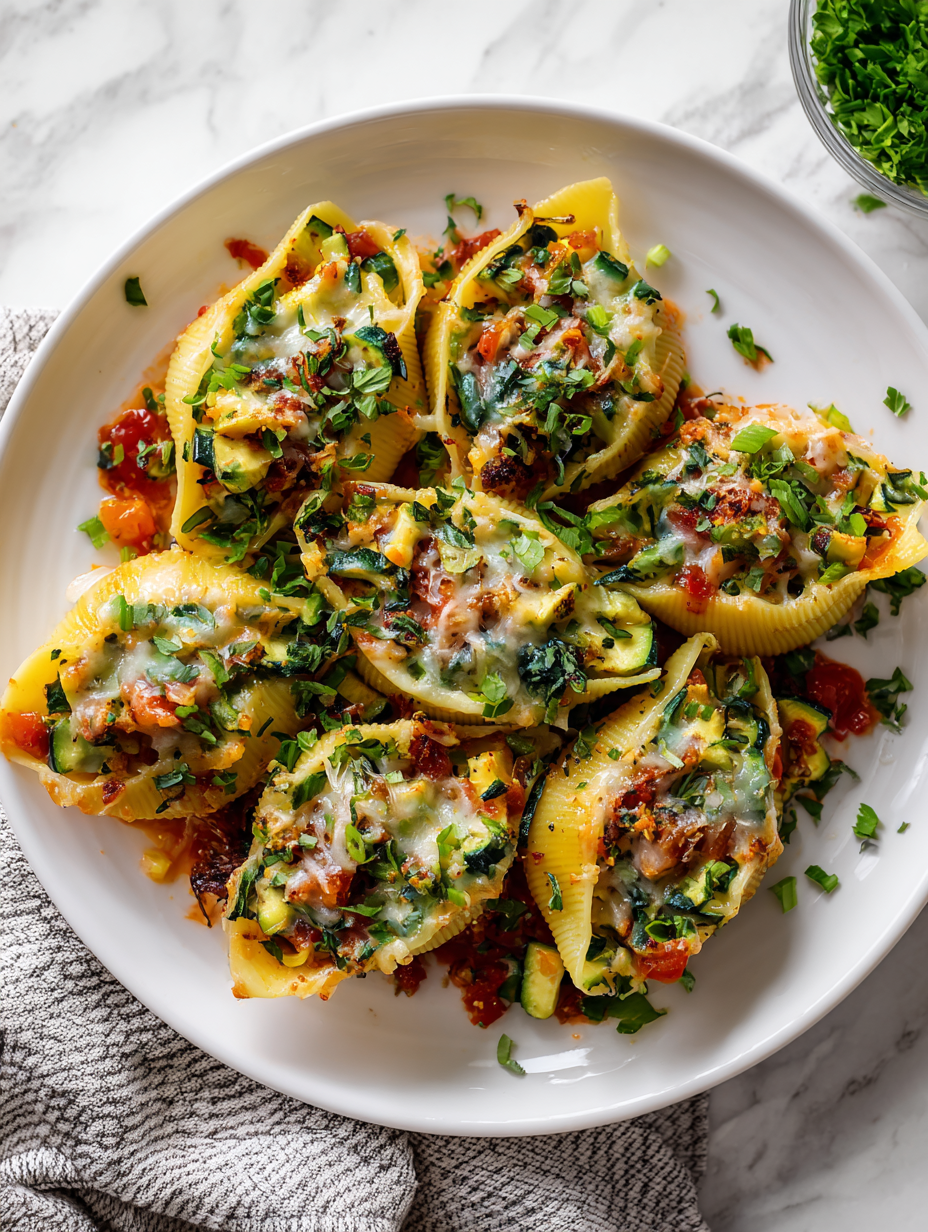
- I feel a rush of pride when I see how colorful and inviting these shells look right out of the oven, like a little garden on a plate.
- There’s a nostalgic comfort in stuffing these shells, each one a tiny bundle of vibrant veggies and melted cheese, making me think of family dinners long past.
- Every time I make this, I’m struck by how simple ingredients can turn into something unexpectedly lively and satisfying, especially when the kitchen smells of roasted garlic and herbs.
The story behind this recipe
- This dish came about during a messy week when I had a fridge full of odds and ends—zucchini, bell peppers, spinach—and a craving for something hearty but fresh. I started stuffing shells with whatever vegetables I had, blending textures and flavors that usually don’t get paired. It was a happy accident that turned into a weekly staple.
- I love how this recipe makes me look at simple ingredients differently—like how roasting brings out a smoky sweetness in peppers, or how spinach leaves shrink and turn silky when baked. It’s a reminder that a little bit of chaos in the kitchen can lead to the most satisfying meals, especially when they’re packed with bright, fresh flavors.
- heading: ‘The story behind this recipe’
Trivia and Origins
- Vegetable stuffed shells are believed to have originated in Italy, where pasta and fresh produce have long been staples of home cooking.
- This dish is a modern twist—early versions used simple ricotta and spinach, but now chefs experiment with seasonal vegetables and herbs.
- The concept of stuffing pasta shells dates back to mid-20th century convenience cooking, making it popular among busy families and home cooks.
Ingredient breakdown: key components
- Ricotta cheese: I love how it’s creamy and mild, but you can swap in cottage cheese for a lighter, slightly grainier texture.
- Spinach: Fresh spinach shrinks dramatically when cooked and adds a vibrant green pop. Frozen works fine—just thaw and squeeze out excess moisture.
- Bell peppers: Roasted peppers lend a smoky sweetness, but grilled zucchini slices can be a great substitute for a different veggie punch.
- Garlic: I always use freshly minced garlic for that pungent, fragrant aroma—skip pre-minced to avoid a dull, processed flavor.
- Mozzarella: Melted mozzarella gives that gooey, cheesy finish—try fontina for a nuttier, richer melt if you want a twist.
- Pasta shells: Large, smooth shells are best—they hold the filling well and make each bite satisfying; rigatoni can be a hearty alternative.
- Tomato sauce: Bright and tangy, but a splash of pesto or a drizzle of béchamel can add a fresh or creamy layer to your dish.
Spotlight on key ingredients
Ricotta cheese:
- I love how it’s creamy and mild, but you can swap in cottage cheese for a lighter, slightly grainier texture.
- Spinach: Fresh spinach shrinks dramatically when cooked and adds a vibrant green pop. Frozen works fine—just thaw and squeeze out excess moisture.
- Bell peppers: Roasted peppers lend a smoky sweetness, but grilled zucchini slices can be a great substitute for a different veggie punch.
Spinach:
- It wilts quickly, turning silky and moist when baked—fresh or frozen works, just squeeze out excess water.
- Bell peppers: Their smoky, sweet flavor intensifies during roasting, adding a depth that fresh peppers can’t match—try charred for extra smoky notes.
Notes for ingredient swaps
- Dairy-Free: Swap ricotta for blended silken tofu or cashew cheese—creamy but less rich, with a nutty undertone.
- Vegetable Variations: Use roasted eggplant or zucchini instead of peppers—both add smoky, tender bites.
- Cheese Options: Substitute mozzarella with provolone or gouda for a deeper, nuttier melt.
- Pasta Alternatives: Try large zucchini boats or polenta discs if shells are hard to find or want a lighter version.
- Sauce Swaps: Use a basil pesto or a creamy béchamel instead of tomato sauce for different flavor vibes.
Equipment & Tools
- Large pot: To boil pasta shells.
- Deep baking dish or skillet: To assemble and bake the stuffed shells.
- Mixing bowl: To combine filling ingredients.
- Spoon or piping bag: To fill the shells neatly.
- Aluminum foil: To cover and prevent drying out during baking.
Step-by-step guide to vegetable stuffed shells
- Equip a large baking dish or deep ovenproof skillet, about 9×13 inches, to hold the shells snugly.
- Preheat your oven to 180°C (350°F). Have a pot of salted water boiling for pasta.
- Cook the pasta shells in boiling water for 8-10 minutes until just al dente. Drain and set aside to cool slightly.
- While pasta cooks, chop your vegetables: 1 cup of roasted red peppers, 1 cup of sautéed spinach, 1 finely diced zucchini, and 2 minced garlic cloves. Set aside.
- In a bowl, mix 1 cup ricotta, half a cup shredded mozzarella, the chopped vegetables, 1 teaspoon dried Italian herbs, salt, and pepper. Adjust seasoning as needed.
- Spoon the filling into each shell, pressing gently to fill completely. Place filled shells upright in the prepared dish, snug but not squished.
- Pour about 2 cups of marinara or tomato sauce over the shells, coating evenly. Sprinkle a little extra mozzarella on top.
- Cover with foil and bake for 25-30 minutes, until bubbling and the cheese is melted and slightly golden.
- Remove from oven, let rest for 5 minutes. Garnish with fresh basil or herbs if desired.
- Serve hot, with a fresh salad or crusty bread. Enjoy the vibrant mix of textures and flavors.
Let the dish rest for 5 minutes after baking to set the cheese. Serve directly from the dish, garnished with fresh herbs for color and aroma.
How to Know It’s Done
- Pasta shells are tender but hold shape without falling apart.
- Vegetable filling is heated through and slightly caramelized at edges.
- Cheese is bubbly and golden, with no raw or watery spots.
Vegetable Stuffed Shells
Ingredients
Equipment
Method
- Bring a large pot of salted water to a boil, then cook the pasta shells for 8-10 minutes until just al dente. Drain and set aside to cool slightly.
- While the pasta cooks, chop the roasted red peppers, sautéed spinach, and finely dice the zucchini. Mince the garlic and set all the vegetables aside.
- In a mixing bowl, combine ricotta cheese, half a cup of shredded mozzarella, the chopped vegetables, dried Italian herbs, salt, and pepper. Mix until well blended and the filling is creamy.
- Using a spoon or piping bag, carefully stuff each shell with the vegetable and cheese mixture, pressing gently to fill completely. Place the filled shells upright in your baking dish, snug but not crowded.
- Pour the tomato sauce evenly over the stuffed shells, covering them completely. Sprinkle the remaining mozzarella on top for melty cheesiness.
- Cover the dish with aluminum foil and bake at 180°C (350°F) for 25-30 minutes until bubbling and the cheese is golden and melted.
- Remove from the oven, uncover, and let rest for 5 minutes. This helps the filling set and makes serving easier.
- Garnish with fresh basil or herbs if desired, then serve warm with a side salad or crusty bread. Enjoy the colorful, veggie-packed goodness!
Pro tips for perfect stuffed shells
- Use freshly grated cheese for a melty, gooey top—pre-grated tends to be dry and less flavorful.
- Roast your vegetables until slightly charred for a smoky depth that adds complexity to the filling.
- Scoop out some pasta water before draining—starchy, salty water helps loosen the filling if it feels too stiff.
- Gently stuff the shells with a small spoon or piping bag—less mess and more control over filling amounts.
- Cover the dish with foil during baking to trap steam and keep the shells tender without drying out.
- Rest the baked shells for 5 minutes after removing from the oven—this helps everything set and makes serving neater.
- Broil for 1-2 minutes at the end if you want a bubbly, golden cheese crust—watch carefully to prevent burning.
Common mistakes and how to fix them
- FORGOT to preheat oven → Always preheat to ensure even baking.
- DUMPED filling too quickly → Fill shells gently to avoid breakage.
- OVER-TORCHED cheese → Cover dish if cheese browns too fast.
- USED cold sauce → Warm sauce slightly for better flavor integration.
Quick fixes and pantry swaps
- If shells stick together, splash with warm water to loosen them gently.
- When filling feels stiff, add a teaspoon of reserved pasta water for better flow.
- DUMPED too much cheese? Pat gently with a paper towel and sprinkle more cheese on top.
- Over-baked cheese? Cover with foil and bake a few extra minutes to restore moisture.
- When sauce is too thick, stir in a splash of warm vegetable broth or water to loosen.
Prep, store, and reheat tips
- Prepare the vegetable filling a day in advance; store covered in the fridge for up to 24 hours. The flavors meld and intensify overnight, making the dish even more vibrant.
- Cook the pasta shells ahead, then drain and spread on a baking sheet to cool. Keep in an airtight container in the fridge for up to 2 days; they’ll firm up slightly but still hold well.
- Assemble the stuffed shells a few hours before baking, cover tightly with plastic wrap, and keep chilled. The shells absorb flavors, becoming more cohesive and flavorful.
- Reheat leftovers in a covered dish at 180°C (350°F) for about 20 minutes until warmed through. The cheese should be bubbly, and the filling hot enough to enjoy—check for steam and slight jiggle in the center.
Top questions about vegetable stuffed shells
1. What’s the best dish for baking?
Use a wide, shallow baking dish to keep shells upright and make layering easier.
2. How do I know when the pasta is cooked?
Cook the shells until just al dente—firm but not hard—about 8-10 minutes in boiling water.
3. Can I use frozen spinach?
Yes, frozen spinach works well—thaw and squeeze out excess moisture before mixing.
4. Should I cook the vegetables beforehand?
Roasting or sautéing vegetables enhances their flavor, adding smoky sweetness and depth.
5. How do I prevent the cheese from burning?
Cover the dish with foil halfway through baking to prevent cheese from over-browning.
6. Can I spice up this dish?
Add a pinch of red pepper flakes or fresh herbs for extra flavor if you like a little kick.
7. How long should I rest the shells before serving?
Allow the dish to rest 5 minutes after baking to let everything set and make serving neater.
8. Should I use fresh or pre-grated cheese?
Use freshly grated cheese for the best melt and flavor, rather than pre-grated options.
9. Can I make this dish in advance?
You can prepare the filling and assemble the shells ahead, refrigerate, and bake later for convenience.
10. What if the sauce gets too thick?
If sauce is too thick, stir in a splash of warm water or broth to loosen it up.
This dish feels like a little victory—simple ingredients, turned into something lively and satisfying. The aroma of roasted peppers and melting cheese is a reminder that good food doesn’t have to be complicated.
Whenever I make these vegetable stuffed shells, I’m reminded that comfort food can also be bright, fresh, and full of character. It’s a practical way to use what’s in the fridge and make dinner feel a bit special, even on busy nights.
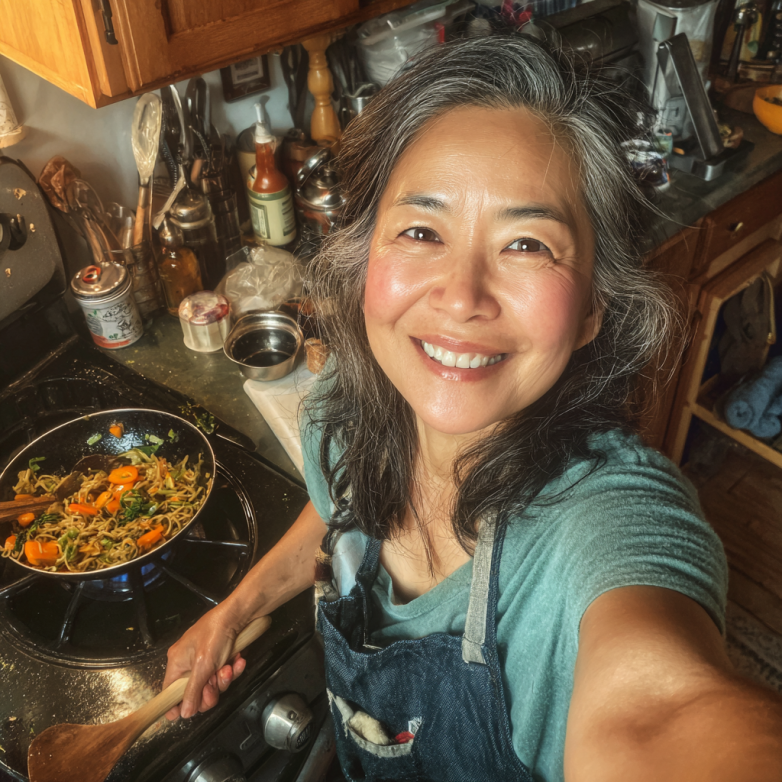
Hi there! I’m Olivia Chen-Williams, a 54-year-old late-blooming cook, career coach, and the face behind Turn Around At 50 – a food blog that proves it’s never too late to start something new (even if your first attempt burns to a crisp!).