Making a Key Lime Pie starts with crushing graham crackers into a buttery, coarse crumb that sticks stubbornly to the spatula. You’ll press this into a pie dish, trying not to leave gaps or overly compact the crust, then bake it until it smells toasty and faintly caramelized.
The filling is a quick mix of tart lime juice, sweetened condensed milk, and eggs, which you’ll whisk until smooth—watch for bubbles and a slightly frothy texture. Pour it into the pre-baked crust, then bake until just set, the edges pulling away from the crust slightly.
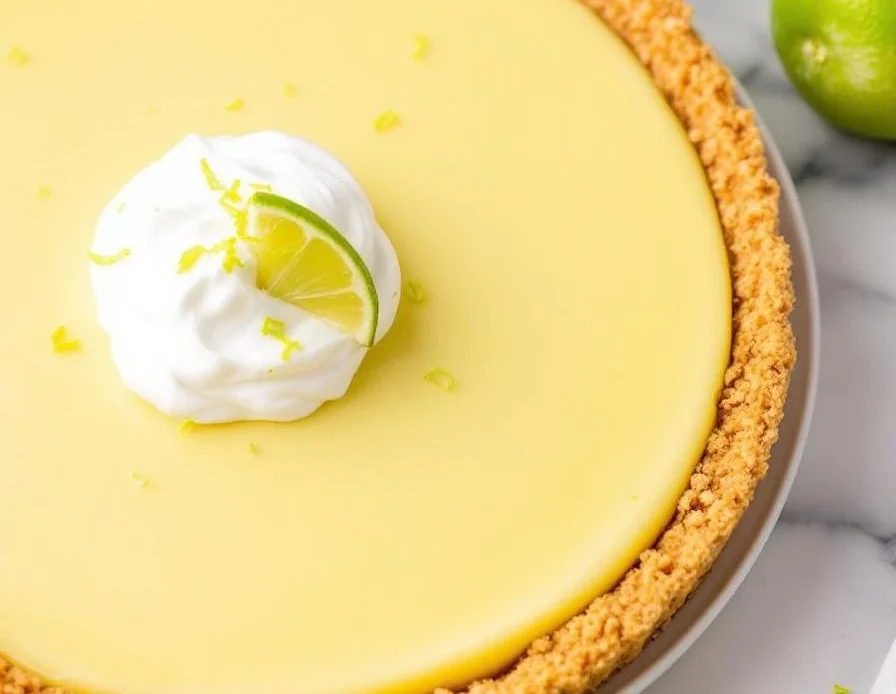
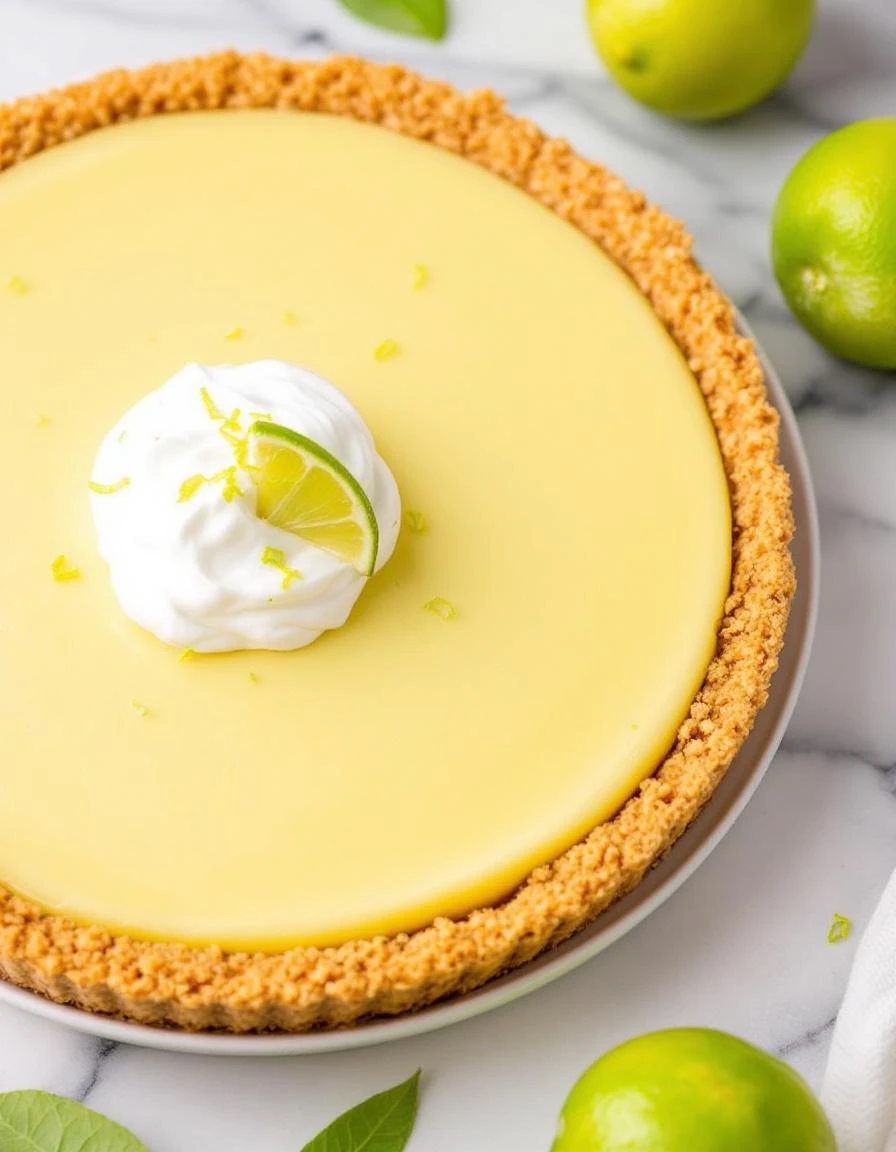
The faint, satisfying crunch of the graham cracker crust as you cut into the pie, the slight crumble giving way to the silky, tart filling beneath.
What goes into this dish
- Graham cracker crumbs: I crush these until fine, but you can pulse them for a coarser texture. Skip if you prefer a less crunchy crust, but I love the rustic bite they add.
- Sweetened condensed milk: It’s rich and sticky, bringing sweetness and creaminess. You can try evaporated milk for a lighter version, but the flavor won’t be as lush.
- Lime juice: Freshly squeezed is sharp and bright, with a zing that wakes up the pie. Bottled lime juice works, but it’s duller and less aromatic—use fresh if you can.
- Eggs: They set the filling—be sure to whisk until smooth and slightly frothy. For a no-raw-egg version, try a cornstarch-thickened custard, but it won’t have quite the same silky feel.
- Pie crust: I prefer a graham cracker crust, but a digestive biscuit crust works well. For gluten-free, use almond flour and butter, but watch for a different texture and flavor.
- Optional toppings: Whipped cream or meringue add a fluffy contrast. Skip if you want a cleaner look, but I find it balances the tartness perfectly.
Classic Key Lime Pie
Ingredients
Equipment
Method
- Combine the graham cracker crumbs and sugar in a mixing bowl, stirring until evenly distributed.
- Pour in the melted butter and mix with a spatula until the crumbs are coated and hold together when pressed.
- Press the crumb mixture firmly into the bottom and up the sides of a pie dish, creating an even crust. Bake in a preheated 350°F oven for 8-10 minutes until fragrant and lightly toasted.
- While the crust bakes, whisk the eggs in a bowl until frothy and slightly bubbly, about 1-2 minutes.
- In a separate bowl, mix the sweetened condensed milk, lime juice, and lime zest until smooth and well combined.
- Gradually pour the lime mixture into the whisked eggs, whisking constantly to prevent curdling and ensure a smooth custard.
- Pour the filling into the pre-baked crust, smoothing the top with a spatula to remove air bubbles.
- Bake the pie in the 350°F oven for about 15 minutes, or until the edges are set and just beginning to pull away from the crust.
- Remove the pie from the oven and let it cool completely on a wire rack, then refrigerate for at least 4 hours or overnight to set the filling.
- Serve the chilled Key Lime Pie topped with whipped cream or meringue if desired, and enjoy the perfect balance of tartness and sweetness.
Common mistakes and how to fix them
- FORGOT to chill the crust before filling? Fix by refrigerating it for 30 minutes to prevent sogginess.
- DUMPED in all the filling at once? Better to pour gradually, smoothing out air bubbles as you go.
- OVER-TORCHED the crust? Cover with foil early next time to prevent burning while baking the filling.
- MISSED the pie’s edges? Use foil shields to keep crust edges from browning too quickly.
Make-Ahead and Storage Tips
- You can prepare the crust and bake it a day ahead. Keep it at room temperature in a sealed container.
- Filling can be made a few hours before serving. Chill in the fridge for up to 24 hours without losing brightness.
- Pie tastes sharper and more tart after a day; the filling can slightly firm up in the fridge.
- Refrigerate the pie covered tightly, no more than 2 days. For longer storage, freeze for up to a month, wrapped well.
- Thaw frozen pie in the fridge for several hours. Reheat gently at 300°F until just warm, watching for bubbling edges.
FAQs
1. Can I use bottled lime juice?
Use fresh lime juice for that zesty, nose-tingling aroma. Bottled juice can be flatter and duller, losing some of the brightness you crave.
2. How do I know when the pie is done?
The filling should be silky and slightly jiggly in the center when baked. If it’s rubbery or cracked, it’s overdone or undermixed.
3. How long should I chill the pie?
Chill the pie at least 4 hours or overnight. The flavors meld, and the texture firms up, making every bite satisfyingly creamy and tart.
4. Can I freeze Key Lime Pie?
Yes, you can freeze it up to a month. Wrap tightly, and let it thaw in the fridge before serving—expect a slightly firmer filling.
5. Should I serve the pie warm or cold?
Serve the pie cold, straight from the fridge. The crisp crust and tangy filling taste best when chilled, with a slight sheen of condensation on the surface.

Hi, I’m Olivia Chen-Williams, a professional chef, cooking instructor, and the founder of Turn Around At 50. For nearly three decades, my life has revolved around kitchens. Not the quiet, romantic kind, but the real ones. Hot, loud, demanding, and deeply alive.
