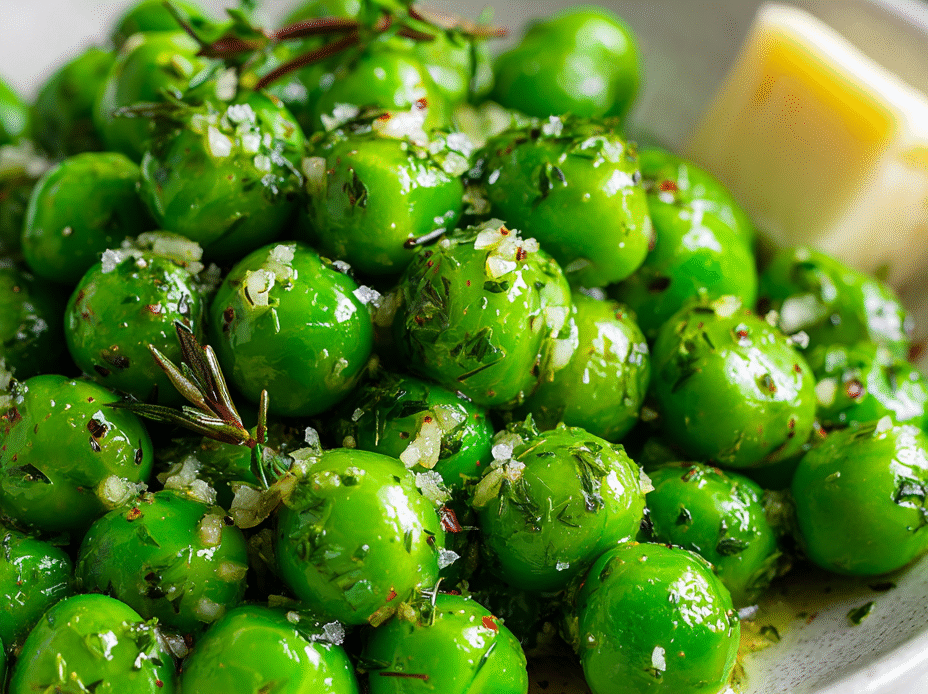
Sometimes, the best dishes come from pure simplicity. This butter garlic peas recipe is a reminder that humble ingredients can shine when treated right. It’s quick, honest, and perfect for those moments when you want comfort without fuss.
Peas are often overlooked—just a side or a quick snack. But with a few honest minutes in butter and garlic, they become something richer, more layered. It’s a small joy, a fresh take on a familiar vegetable that feels just a little indulgent.
I’ve made this dish more times than I can count, especially on busy weeknights. It’s that quiet, satisfying kind of flavor that makes you pause and appreciate simple cooking done well. No tricks, just honest ingredients with a little love.
Focusing on the overlooked beauty of simple ingredients, this recipe elevates peas into a decadent side with butter and garlic—proving that humble is sometimes the tastiest.
The story behind this recipe
- This dish came together on a rainy afternoon, when I needed something quick but full of flavor. I remembered my grandmother’s simple approach—let the ingredients speak for themselves, no fuss. The smell of butter melting with garlic always takes me back to her cozy kitchen, where everything felt warm and easy.
- One day, I was rushing home after a long day, craving something comforting yet straightforward. Peas are often just a side, but I wanted to elevate them—make them feel special without complicating. That’s how this little recipe was born; a reminder that sometimes, the simplest bites are the most satisfying.
- heading: ‘The story behind this recipe’
Ingredient breakdown: key components
- Frozen peas: I love the bright, sweet pop when they hit the pan—if fresh is available, go for them, but frozen keeps it simple and quick.
- Butter: I use unsalted, rich butter to get that creamy, mellow flavor that coats each pea—don’t skimp, it’s what makes the dish luscious.
- Garlic: Fresh garlic minced fine gives that fragrant, pungent aroma—skip pre-minced if you want a more vibrant, punchy garlic hit.
- Salt & Pepper: A pinch of sea salt and a crack of black pepper bring out the peas’ natural sweetness—taste and adjust before serving.
- Lemon (optional): A squeeze of lemon brightens everything—if you want a fresh twist, add it right at the end for a zingy finish.
- Olive oil (optional): A drizzle at the end adds a subtle fruitiness—if using, keep it light so it doesn’t overpower the butter and garlic.
- Red pepper flakes (optional): A pinch for heat—use sparingly, then taste as you go, especially if serving kids or sensitive palates.
Spotlight on key ingredients
Frozen peas:
- I love their bright, sweet pop when they hit the pan—if fresh is available, go for them, but frozen keeps it simple and quick.
- They hold their shape well but soften quickly, so timing is everything to get that tender yet slightly firm bite.
Butter:
- I use unsalted, rich butter to get that creamy, mellow flavor that coats each pea—don’t skimp, it’s what makes the dish luscious.
- It melts slowly, releasing a nutty aroma that infuses the peas with warmth and depth—watch for a gentle foam, not browning.
Notes for ingredient swaps
- Dairy-Free: Swap butter for coconut oil or vegan butter—less creamy, slightly sweeter, but still rich.
- Vegan: Use olive oil or avocado oil instead of butter—adds a fruity, slightly grassy note.
- Fresh Peas: If available, fresh peas bring a crisper bite and sweeter flavor—use about the same weight, but blanch briefly first.
- Herbs: Fresh parsley or mint can brighten the dish—add at the end for a fresh, herbal punch.
- Garlic Variations: Roasted garlic offers a mellow, caramelized sweetness—use less, as it’s more pungent when raw.
- Lemon Juice: For a brighter tang, squeeze fresh lemon at the end—skip if you prefer a milder flavor.
- Spicy Touch: Red pepper flakes add heat—start with a pinch, then taste and adjust for your heat tolerance.
Equipment & Tools
- Medium sauté pan: To cook peas evenly without overcrowding.
- Small sharp knife: To mince garlic finely.
- Wooden spoon or spatula: For stirring and coating peas in butter.
- Measuring spoons: To measure butter and seasonings accurately.
Step-by-step guide to butter garlic peas
- Equipment & Tools: Use a medium sauté pan (20cm/8-inch) with a lid to evenly cook peas and contain splatters; a small sharp knife for garlic; a wooden spoon or spatula for stirring; and a measuring spoons for butter and seasonings.
- Heat the pan over medium-low (about 150°C/300°F). Add 2 tablespoons (28g) of unsalted butter. Let it melt slowly, smelling the nutty aroma as it begins to foam.
- Mince 2 cloves of garlic finely. When the butter is just bubbling, toss in the garlic. Cook for 30 seconds until fragrant—avoid browning to keep it sweet and fresh. If it starts to turn dark, reduce heat or remove from pan briefly.
- Pour in 1 cup (150g) of frozen peas directly from the freezer. Stir to coat evenly with butter and garlic. Turn the heat up to medium (about 180°C/355°F). Cook, stirring occasionally, for about 2-3 minutes, until peas are tender and bright green—look for a slight shimmer and popping sound as they warm.
- Season with a pinch of sea salt and freshly cracked black pepper. For extra flavor, add a squeeze of lemon or a pinch of chili flakes if desired. Stir well. Taste and adjust seasoning. If peas seem dry, add a small splash of water or a drizzle of olive oil.
- Check for doneness: peas should be tender but still hold a slight bite, and the garlic fragrant but not burnt. If they’re too firm, cook for another minute. If they start to look shriveled or smell burnt, remove from heat immediately and start over with lower heat.
- Remove from heat. Let rest for 1 minute to allow flavors to meld. Serve immediately, spooned onto a warm plate, with a sprinkle of fresh herbs if you like.
- Resting & Finishing: Transfer to a serving dish. Finish with a tiny pat of butter or a squeeze of lemon for brightness. Serve hot, with a fresh baguette or as a side to grilled meats or fish.
Serve immediately after resting briefly. Finish with a squeeze of lemon or a pat of butter if desired. Plate in a warm dish to keep hot and vibrant.
How to Know It’s Done
- Peas are bright green, tender, and have a slight pop when bitten.
- Garlic is fragrant but not burnt, with a sweet aroma.
- Butter creates a shiny, slightly foamy coating over the peas.
Butter Garlic Peas
Ingredients
Equipment
Method
- Place a medium sauté pan over medium-low heat and add the butter, allowing it to melt slowly while releasing a warm, nutty aroma.
- Finely mince the garlic, then add it to the melting butter. Cook for about 30 seconds until fragrant, watching carefully to prevent browning or burning.
- Pour in the frozen peas directly from the freezer into the pan, stirring gently to coat them evenly in the garlic butter mixture.
- Increase the heat slightly to medium and cook the peas for 2-3 minutes, stirring occasionally, until they turn bright green and are tender but still slightly firm.
- Season with a pinch of sea salt and freshly cracked black pepper, then stir well to incorporate the seasonings evenly.
- If desired, squeeze a little lemon juice over the peas for a fresh, zesty finish, then give everything one last gentle stir.
- Remove the pan from heat and let the peas rest for a minute to meld the flavors. Serve immediately in a warm dish, enjoying their tender texture and buttery aroma.
Notes
Pro tips for perfect butter garlic peas
- Use fresh garlic for a sharper, more pungent aroma—skip pre-minced to maximize flavor.
- Cook peas on medium-low first, then bump to medium to prevent overcooking and maintain color.
- Add peas directly from the freezer—no need to thaw, they cook quickly and retain sweetness.
- Keep an eye on garlic—when fragrant, remove it if it starts to brown to avoid bitterness.
- Finish with a quick squeeze of lemon for brightness—adds a fresh, zesty contrast to the richness.
- Stir gently after adding seasonings—preserves the shape and texture of the peas.
- Use a wide pan for even heat distribution—helps peas cook uniformly and prevents steaming.
Common mistakes and how to fix them
- FORGOT to adjust heat after adding peas → Keep heat medium to prevent overcooking.
- DUMPED too much water during cooking → Use minimal water; peas should stay bright and slightly coated.
- OVER-TORCHED garlic → Remove garlic if it turns dark to avoid bitterness.
- MISSED taste check before serving → Always taste and adjust salt or lemon for balanced flavor.
Quick fixes and pantry swaps
- If the peas look dull, splash a little lemon juice to brighten their color and flavor.
- When garlic burns, patch the mistake by removing it and adding fresh garlic later.
- Splash water if peas stick or dry out; gently stir to loosen and revive texture.
- Dumped too much oil? Shield the dish with a paper towel to absorb excess and prevent greasiness.
- When in doubt, pantry swap: use olive oil instead of butter for a lighter, fruity note—shimmering and fragrant.
Prep, store, and reheat tips
- Prep the garlic and measure out butter ahead; keep in small containers in the fridge for up to 2 days. The smell of garlic ready to go makes cooking quicker and less chaotic.
- Freeze leftover cooked peas in an airtight container for up to 3 months. They might lose a bit of their bright crunch but stay sweet and ready for quick reheats.
- Reheat peas gently in a skillet over low heat, stirring often until warmed through—look for a slight shimmer and fragrant aroma. Avoid overheating to prevent mushiness.
- Taste and adjust seasoning after reheating; the flavors can mellow or intensify. A splash of lemon or a pinch of salt can revive the dish nicely.
Top questions about butter garlic peas
1. Can I use fresh peas instead of frozen?
Frozen peas are best—they stay bright and sweet, and cook quickly from frozen without losing flavor.
2. Should I thaw peas before cooking?
Yes, but fresh peas take slightly longer to cook and have a different texture—more crisp, less tender.
3. Can I substitute butter with oil?
Use unsalted butter for control over seasoning and to avoid overly salty dishes; salted butter can make it too salty.
4. Is lemon necessary?
A quick squeeze of lemon brightens the dish and adds a fresh, tangy contrast to the buttery garlic flavor.
5. How do I prevent garlic from burning?
Cooking garlic until fragrant but not browned keeps the aroma sweet and pungent, avoiding bitterness.
6. Can I make this dish spicy?
Adding a pinch of red pepper flakes introduces a gentle heat, but start small—about 1/8 teaspoon—and taste as you go.
7. How do I know when the peas are done?
Cook peas on medium-low first to prevent overcooking, then turn up the heat to finish them with a slight shimmer.
8. Should I serve immediately or can I keep it warm?
Finish with a pat of butter or a squeeze of lemon right before serving to enhance flavor and freshness.
9. How long can I store leftovers?
Storing cooked peas in an airtight container in the fridge keeps them fresh for up to 3 days. Reheat gently to avoid mushiness.
10. What if the peas look dull after cooking?
If peas become dull or lack flavor, a splash of lemon juice or a pinch of salt can revive their brightness and taste.
This butter garlic peas recipe is a reminder that simple ingredients, when treated with care, can shine in the most comforting way. It’s perfect for those nights when you want something quick, honest, and flavorful without fuss.
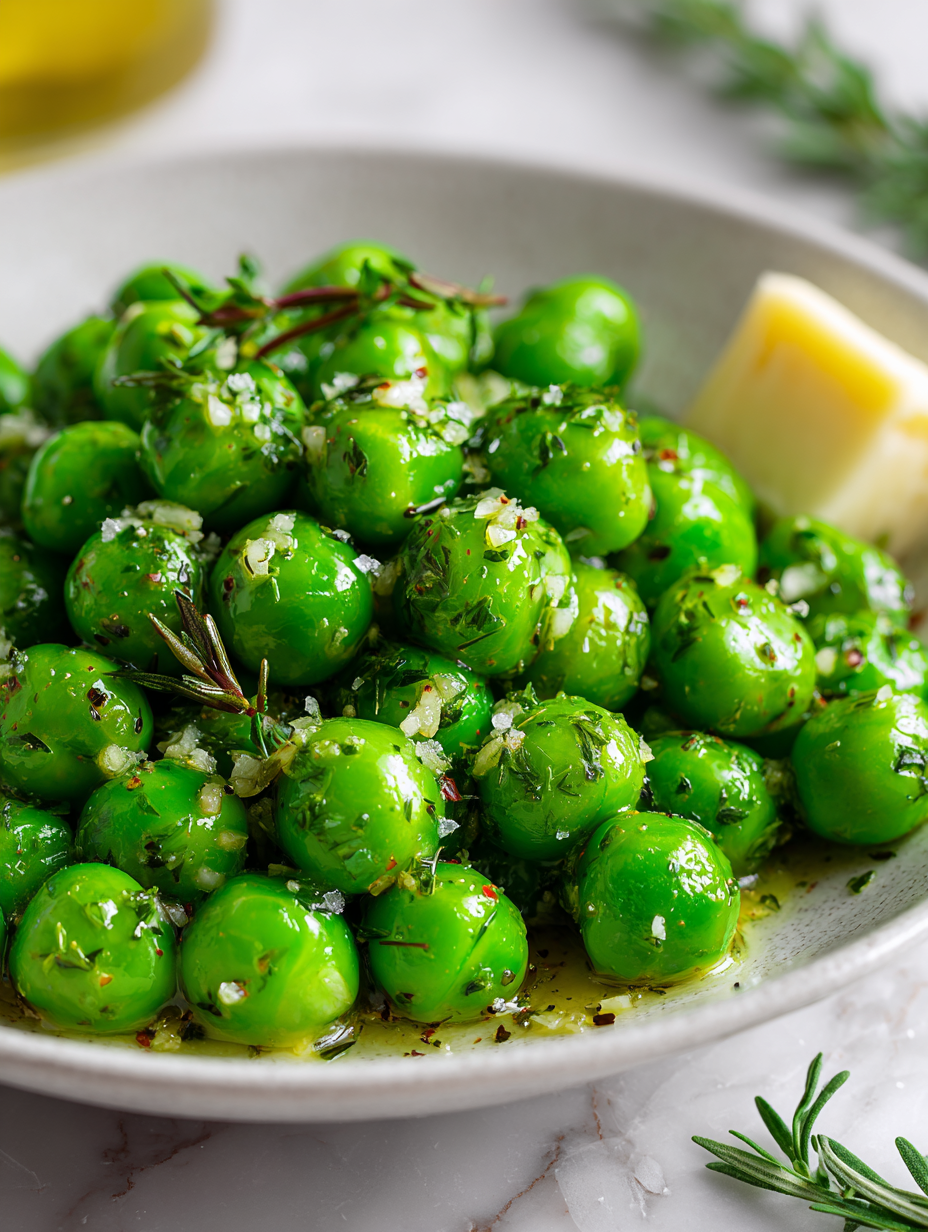
There’s a quiet satisfaction in watching bright green peas take on a glossy, fragrant coating of butter and garlic. It’s a small, humble dish that feels like a little act of kindness—something you can return to, again and again, as a reminder that the best flavors often come from simplicity.
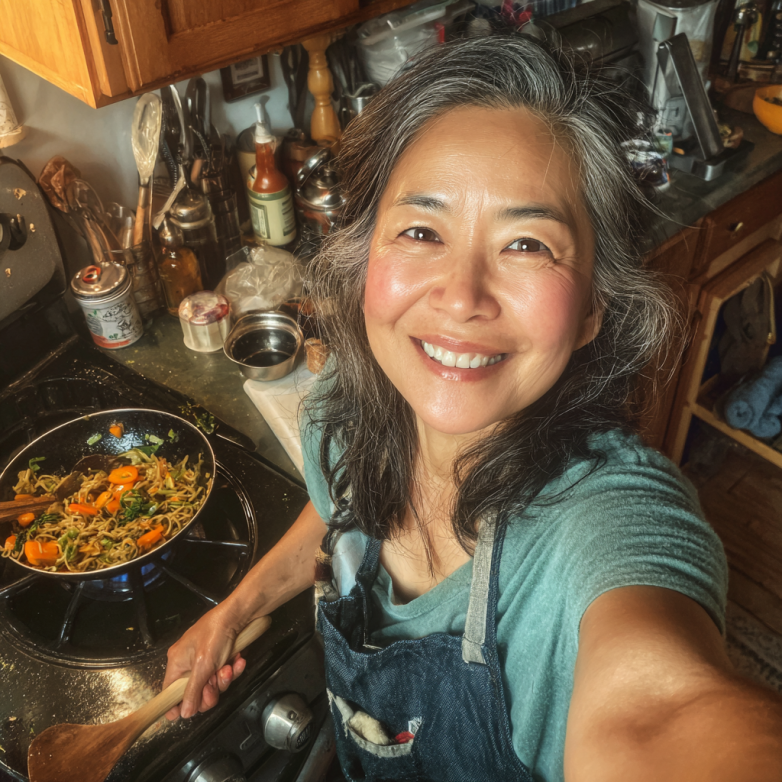
Hi, I’m Olivia Chen-Williams, a professional chef, cooking instructor, and the founder of Turn Around At 50. For nearly three decades, my life has revolved around kitchens. Not the quiet, romantic kind, but the real ones. Hot, loud, demanding, and deeply alive.
