Setting up for beer can chicken means balancing a whole bird on an open can of beer, which often feels like wrestling a drunk bird. You’ll be handling raw poultry, poking holes, and massaging spices into skin that’s slick with oil, all while trying not to knock over the can.
Once on the grill, the real noise begins—the crackle of the skin as it crisps up from the heat, and the smell of roasting fat mingling with smoky air. It’s messy, loud, and hands-on, but watching that bird turn a golden-brown crust is part of the charm.
The crack of the can as you pierce it, releasing a burst of smoky steam that flavors the meat from inside out.
What goes into this dish
- Whole chicken: I prefer a bird around 4-5 pounds—smaller birds cook faster and stay juicy, but bigger ones are more forgiving for beginners. You can swap in a spatchcocked chicken for quicker, more even cooking.
- Beer: Use a light lager or ale—something with a clean, crisp flavor that won’t overpower the meat. Skip dark beers if you want a milder taste; the foam and steam will still do their smoky thing.
- Herbs and spices: I rub the skin with garlic, paprika, and a pinch of cayenne—adds smoky depth. Feel free to tweak with thyme or lemon zest for brighter notes, but don’t skip the salt; it’s crucial for flavor.
- Vegetables: Toss in some onion or lemon wedges inside the cavity—boosts aroma and keeps moisture in. Skip if you’re in a rush, but don’t forget how much flavor they add during roasting.
- Oil: A good splash of vegetable or olive oil helps crisp the skin. If you’re oil-averse, a light spray works, but the skin won’t turn as golden and crackly.
- Cooking setup: A sturdy grill or oven with a drip pan underneath is key—catchs drips, prevents flare-ups, and adds smoky flavor. Skip the pan and you’ll end up with a mess and uneven crisping.
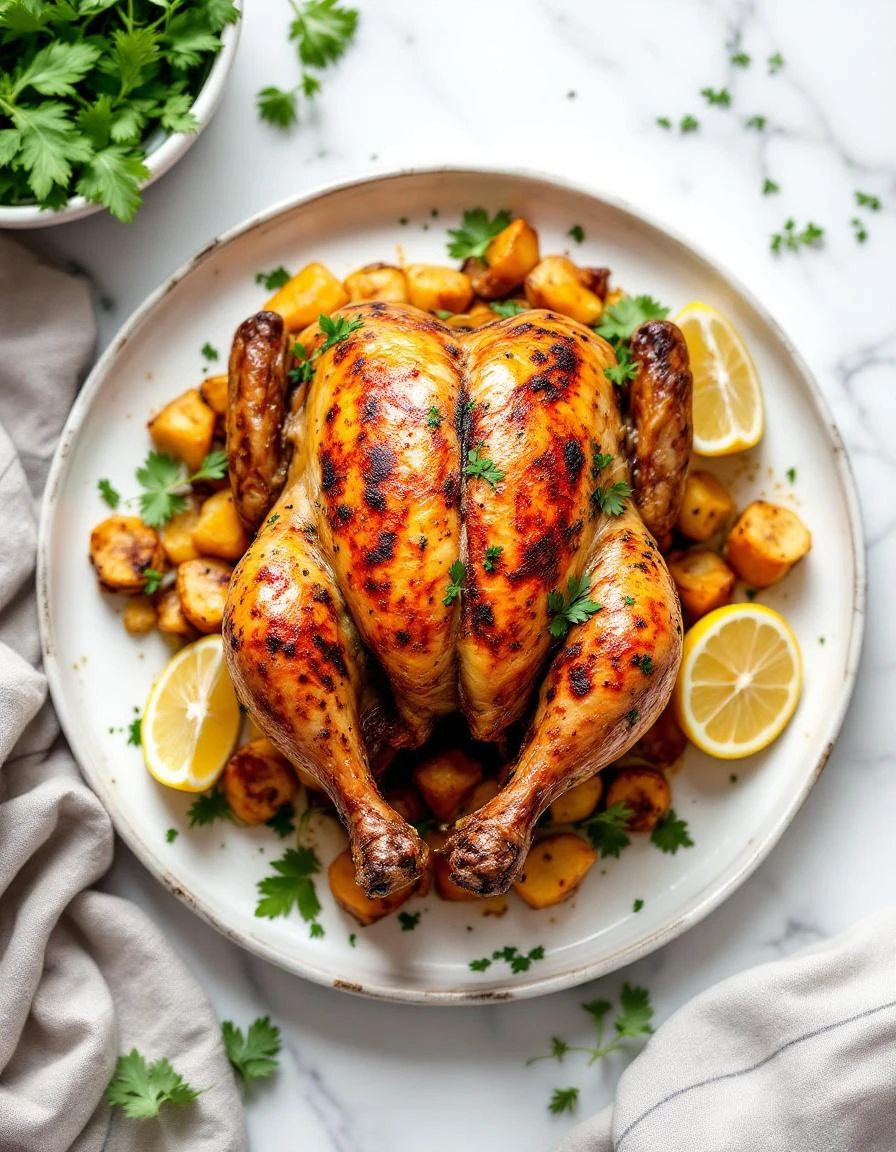
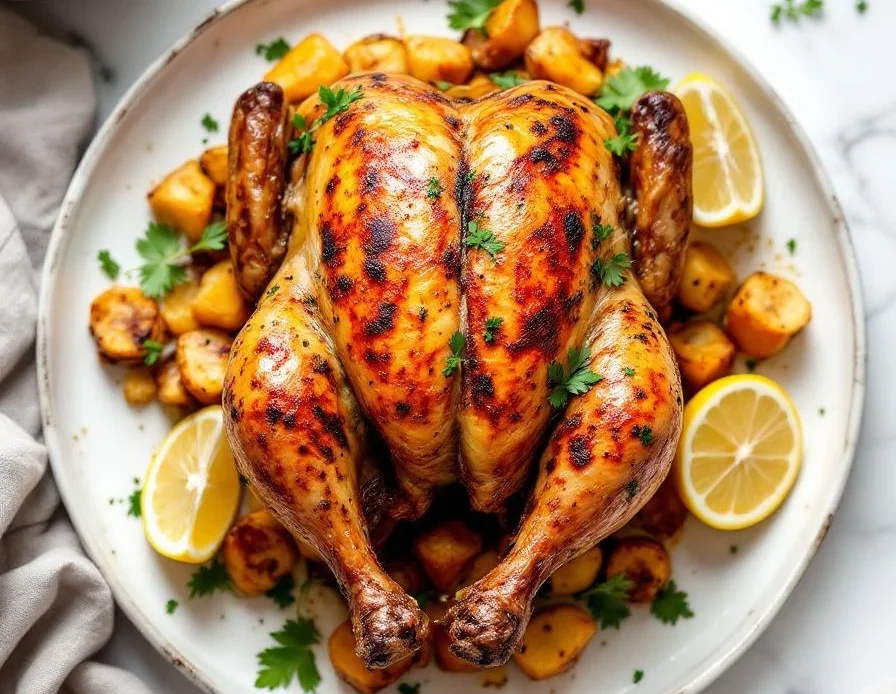
Beer Can Chicken
Ingredients
Equipment
Method
- Start by preparing the chicken: pat it dry with paper towels, then rub the entire surface with oil, minced garlic, paprika, cayenne, salt, and black pepper, ensuring the skin is evenly coated.
- If using, stuff the cavity with lemon wedges and onion halves to add aromatic flavor.
- Open the beer can and pour out or drink half, then insert it into the chicken's cavity, ensuring the bird balances securely on the can.
- Use kitchen twine to secure the legs together and stabilize the bird if needed, preventing spillage during cooking.
- Preheat your grill to medium-high or oven to 375°F (190°C), and place a drip pan underneath to catch drippings and add smoky flavor.
- Place the beer-can chicken upright on the grill or in the oven, positioning it over the drip pan, and close the lid or oven door.
- Roast the chicken for about 75 minutes, or until the skin is deep golden and crisp, and the juices run clear when pierced with a thermometer (internal temperature should reach 165°F).
- Carefully remove the chicken from the grill or oven, allowing it to rest for 10 minutes to let the juices settle.
- Gently lift the chicken off the can, making sure to keep the crispy skin intact, and transfer it to a serving platter.
- Carve the chicken into pieces and serve hot, enjoying the smoky aroma and crispy skin with tender, juicy meat inside.
Common mistakes and how to fix them
- FORGOT to secure the bird properly—use kitchen twine to prevent spillage and uneven cooking.
- DUMPED the beer can before checking for doneness—wait for the juices to run clear, then test.
- OVER-TORCHED the skin—keep a close eye after the first 20 minutes, and cover with foil if needed.
- MISSED seasoning inside the cavity—rub lemon, garlic, or herbs for extra flavor and aroma.
Make-Ahead and Storage Tips
- You can prep the dry rub and season the chicken a day ahead. Keep it covered in the fridge overnight for more flavor penetration.
- The bird can be stored in the fridge for up to 24 hours before cooking. Let it come to room temp for about 30 minutes before grilling.
- Any leftovers should be tightly wrapped and used within 3 days. Freezing is possible for up to 2 months, but expect slight texture changes.
- Reheat gently in the oven at 300°F until warmed through—listen for the skin to crackle again and smell that smoky aroma.
- The flavors will deepen if rested for a few hours, but the skin may lose some crispness. Recrisp in a hot oven or skillet to revive texture.
FAQs
1. How does the skin get so crispy?
The skin crackles as it crisps, releasing a smoky aroma that fills the air, making your kitchen smell like a BBQ joint.
2. What role does the beer play?
The beer inside steams and bubbles, flavors the meat with a subtle malty scent, and keeps the chicken juicy from inside out.
3. Can I use a different kind of beer?
Use a basic lager or ale—nothing too dark or hoppy. It should be light, with a clean, refreshing smell that mingles with smoky notes.
4. How do I know when it’s cooked?
Make sure to check the juices—when they run clear and the meat feels firm, the bird’s done. The skin should be deep golden and crackling.
5. How should I store and reheat leftovers?
Leftovers are best stored in a sealed container in the fridge for up to 3 days. Reheat in the oven until the skin crackles again and smells smoky.

Hi, I’m Olivia Chen-Williams, a professional chef, cooking instructor, and the founder of Turn Around At 50. For nearly three decades, my life has revolved around kitchens. Not the quiet, romantic kind, but the real ones. Hot, loud, demanding, and deeply alive.
