Making S’mores Bars starts with crushing graham crackers into coarse crumbs, then pressing them into the bottom of a pan. You’ll spread a layer of gooey marshmallow on top, which you’ll want to handle quickly before it sets too much. Melting chocolate over the marshmallow creates a sticky, glossy top that pulls at the spatula as you cut.
The process involves a lot of messy, sticky hands and a quick pace to keep everything from hardening or slipping out of your grasp. Once out of the fridge, the bars need a few minutes at room temperature to soften just right before slicing.
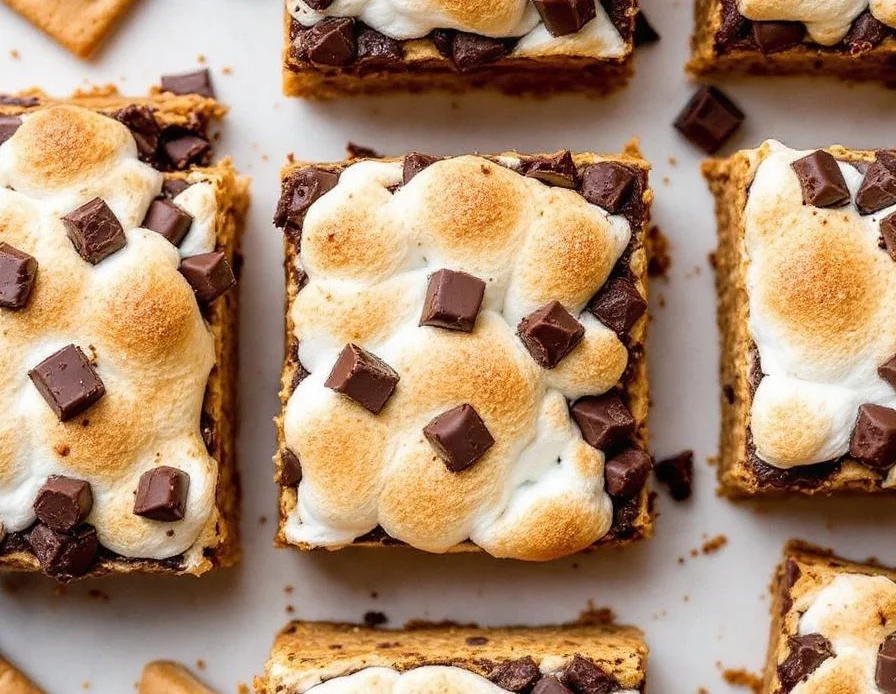
The crack of the graham cracker crust giving way under the pressure of the sticky marshmallow and melted chocolate, each bite echoing that satisfying snap.
What goes into this dish
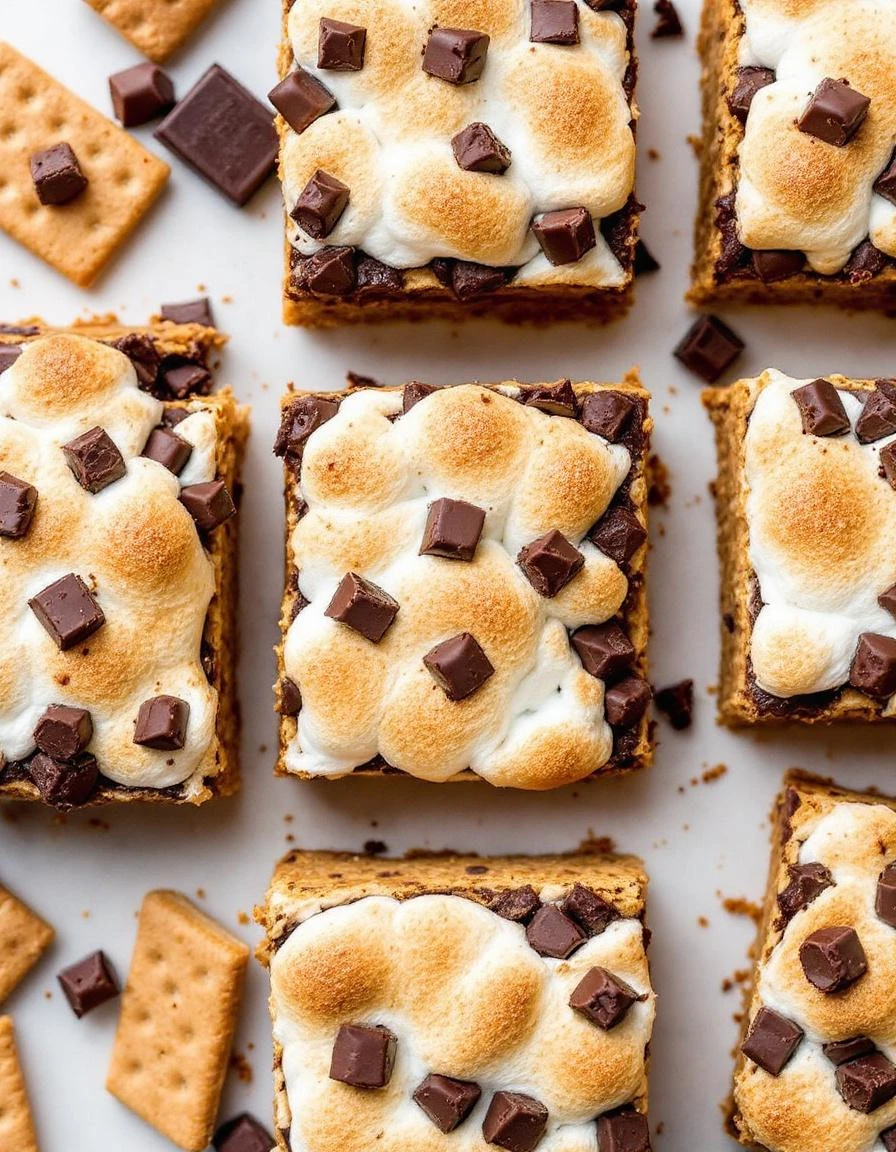
- Graham crackers: I crush these into coarse crumbs, the buttery aroma filling the air. Swap with digestive biscuits if you want a milder flavor, but don’t skip the crunch. Vividly, they crackle under pressure.
- Marshmallows: Sticky, gooey, and quick to melt, I spread these over the crust. If you prefer a less sticky mess, try marshmallow fluff—less goo, more smooth stretch. Watch out for the oozing, shiny surface.
- Chocolate: I use melting chocolate chips, which melt into a glossy, rich layer. Dark chocolate is my go-to, but milk or even white chocolate can change the vibe entirely—think sweeter or more mellow. It pulls apart in thick, luscious ribbons.
- Butter: I melt it into the crust mixture, adding richness and helping it hold together. For a dairy-free version, coconut oil works but gives a slightly coconutty aroma. The warm butter smells like toasted nuts.
- Honey or corn syrup: I drizzle a little to help the chocolate stay glossy and sticky. Maple syrup can add a deeper sweetness, but it’s a softer set. It creates that luscious, chewy finish when cooled.
- Salt: Just a pinch in the crust enhances all the sweet flavors, sharpening the chocolate and marshmallow. Skip if you want a purely sweet experience, but it really balances the richness. It makes the whole thing pop.
- Optional toppings: Crushed graham or a sprinkle of sea salt flakes can add crunch or contrast. Use sparingly—too much and it distracts from the marshmallow’s stretch and chocolate’s shine.
S'mores Bars
Ingredients
Equipment
Method
- Crush the graham crackers into coarse crumbs and transfer them to a mixing bowl.
- Pour the melted butter over the graham cracker crumbs and stir until evenly coated and crumbly.
- Press the buttery crumbs into the bottom of a greased 9x13 inch baking pan, creating an even crust. Use the back of a spatula to press firmly and compact the crust.
- Spread the marshmallows evenly over the crust. Use a spatula to gently press them down, ensuring a smooth, sticky layer that covers the entire surface.
- Heat the chocolate chips in a microwave or double boiler until smooth and glossy, stirring frequently to prevent burning. Add a tablespoon of honey or corn syrup if desired for extra shine.
- Pour the melted chocolate evenly over the marshmallow layer, tilting the pan to spread it for a glossy, sticky top. The chocolate should start to set as it cools.
- Place the pan in the refrigerator and chill for at least 2 hours until the chocolate is firm and the marshmallow is set.
- Once chilled, remove from the fridge and cut into squares using a sharp knife. The bars should be firm, with a crackling crust, chewy marshmallow, and shiny chocolate top.
- Serve immediately for the best texture—crisp crust, gooey middle, and luscious chocolate top. Enjoy the satisfying snap and stretch with every bite!
Common mistakes and how to fix them
- FORGOT to butter the pan? Grease it well, or the bars might stick and tear.
- DUMPED marshmallow mixture? Gently spread it with a spatula to avoid tearing the crust.
- OVER-TORCHED chocolate? Remove from heat as soon as it melts smoothly to prevent burning.
- MISSED the chilling step? Let the bars set in the fridge for at least 2 hours for clean cuts.
Make-Ahead and Storage Tips
- You can prepare the crust and press it into the pan a day ahead, then cover tightly and keep at room temperature. It firms up but stays crumbly, ready to hold the marshmallow layer.
- The assembled bars can be stored covered in the fridge for up to 24 hours. The marshmallow might become slightly less gooey, but the chocolate stays glossy and inviting.
- Freeze the fully assembled bars for up to 2 months. Wrap tightly in foil or plastic wrap, then thaw at room temperature for about 30 minutes before serving.
- Reheat in a low oven (around 300°F) for 5-8 minutes to soften the marshmallow and restore some shine to the chocolate. Watch for puffing or melting too fast—pull them out early.
- Flavors deepen as they sit; the graham cracker’s buttery aroma intensifies, and the marshmallow becomes slightly firmer, offering a more marshy chew. The chocolate’s richness mellows into a mellow, sticky sweetness.
FAQs
1. How should the marshmallow feel when spread?
The marshmallow gooeyness is key; it should be soft but not overly melted or runny, giving a chewy texture with a slight stretch when you bite.
2. What does properly melted chocolate look like?
Look for a glossy, smooth chocolate layer that starts to set but still gives a slight pull when you cut into the bars.
3. How do I know when the crust is baked enough?
The crust should be firm, with a crunch that crackles loudly, yet not too hard or crumbly—that’s the balance you want.
4. How long should I chill the bars before cutting?
Refrigerate the bars at least 2 hours to firm up; if you’re in a hurry, 30 minutes in the freezer helps set the chocolate quickly.
5. How do I reheat the bars without ruining them?
Reheat in a gentle oven at 300°F for about 5 minutes until the marshmallow softens slightly and the chocolate warms to a silky sheen—avoid melting it completely.

Hi, I’m Olivia Chen-Williams, a professional chef, cooking instructor, and the founder of Turn Around At 50. For nearly three decades, my life has revolved around kitchens. Not the quiet, romantic kind, but the real ones. Hot, loud, demanding, and deeply alive.
