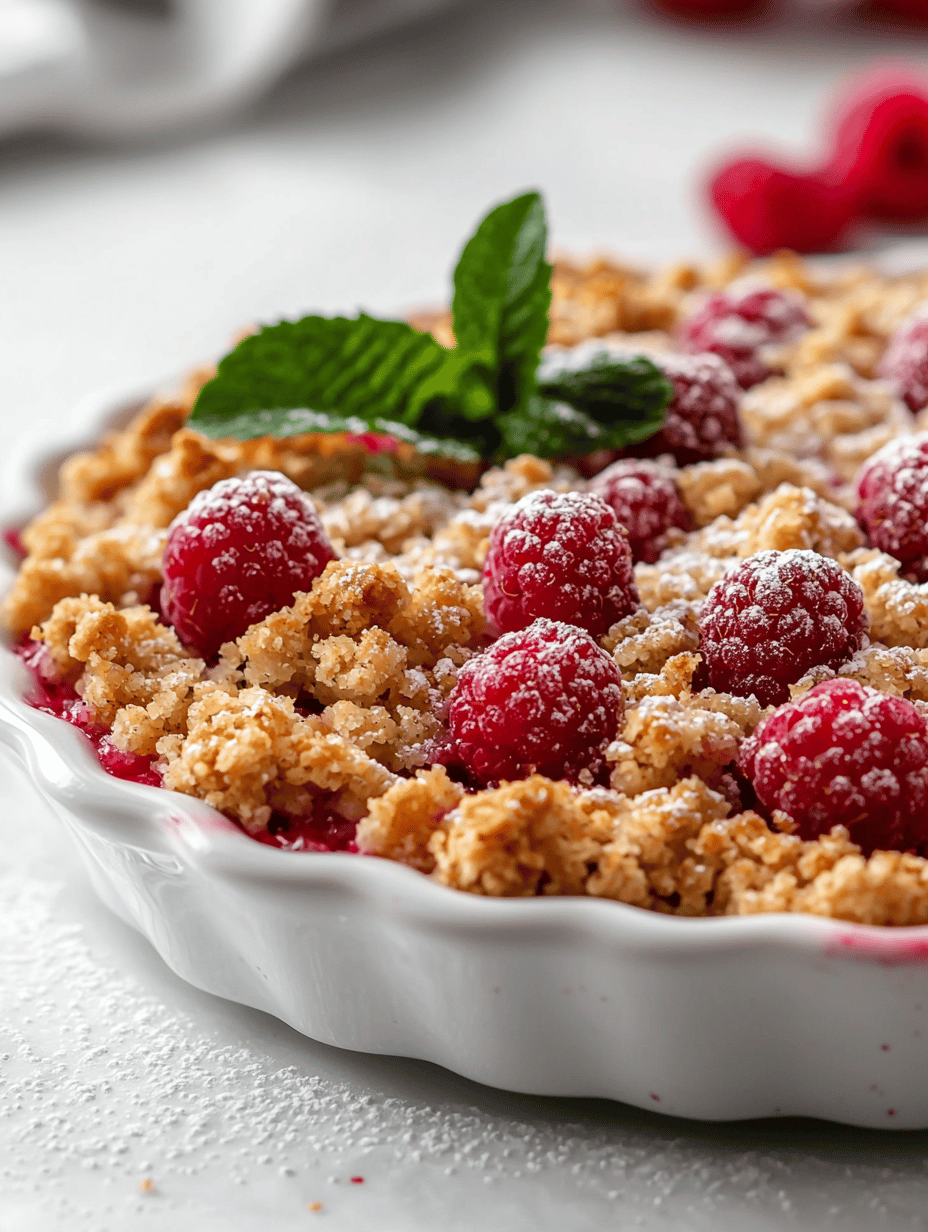
There are few desserts as effortlessly charming as a warm crumble. I still remember the first time I baked one on a rainy afternoon—raspberries bubbling away under a golden crust, filling the kitchen with a sweet, tangy perfume.
This Simple Raspberry Crumble is exactly that kind of recipe: rustic, comforting, and always a crowd-pleaser. With just a handful of pantry staples and fresh berries, you can create a dessert that feels both homely and indulgent, perfect with a scoop of vanilla ice cream or a dollop of cream.
If fruity desserts are your weakness, you might also enjoy the floral notes of Strawberry-Lavender Shortcake or the seasonal charm of Candy Corn Parfaits for festive gatherings.
Table of Contents
Behind the Recipe
I started making raspberry crumble because it felt like the easiest way to turn fruit into dessert without overthinking it. Raspberries already have that balance of sweet and tart, so they don’t need much help. Over time, I learned that keeping the topping simple and not too thick lets the fruit stay the star.
Why You’ll Love This Recipe
- Quick to Assemble: Minimal prep and simple steps
- Perfect Sweet-Tart Balance: Raspberries shine through
- Comforting and Familiar: Warm, soft, and buttery
- Flexible Ingredients: Works with fresh or frozen fruit
- Great Year-Round: No seasonal limits
- Easy Crowd Dessert: Simple to scale up
- Pairs Well with Ice Cream: Hot and cold contrast
Chef’s Pro Tips for Perfect Results
- Don’t Overmix the Topping: Keep it crumbly, not doughy
- Taste the Fruit First: Adjust sugar if raspberries are very tart
- Use Cold Butter: Helps create a proper crumble texture
- Bake Until Bubbling: Ensures fruit is fully cooked
- Rest Briefly Before Serving: Filling thickens slightly
- Look for Bubbling Edges: The filling must visibly bubble at the edges to ensure cornstarch is fully activated and thickened.
Kitchen Tools You’ll Need
- Baking Dish: Use a 9×9-inch or similar 2-quart baking dish for proper filling-to-topping ratio.
- Mixing Bowl: For crumble topping
- Fork or Fingers: To rub butter into flour
- Measuring Cups and Spoons: Keeps balance right
- Oven Mitts: For safe handling
Ingredients in This Recipe

- Raspberries (4 cups, fresh or frozen): Provide a tart, juicy filling bursting with bright fruit flavor
- Granulated Sugar (½ cup): Gently sweetens the raspberries while preserving their natural taste
- Cornstarch (2 tablespoons): Thickens the fruit juices during baking. It activates fully once the filling reaches a simmer, creating a cohesive, jam-like texture.
- Lemon Juice (1 tablespoon): Enhances and brightens the raspberry flavor with fresh acidity
- All-Purpose Flour (¾ cup): Forms the base of the crumble topping for structure
- Rolled Oats (½ cup): Add hearty texture and a satisfying crunch
- Brown Sugar (½ cup): Brings warm sweetness and rich caramel notes to the topping
- Unsalted Butter (½ cup, cold and cubed): Creates richness and helps form crisp, golden crumbs
- Salt (¼ teaspoon): Balances sweetness and enhances overall flavor
Ingredient Substitutions
- Berry Swap: Blackberries or mixed berries
- Sugar Option: Coconut sugar or maple sugar
- Gluten-Free: Use gluten-free flour and oats
- Oat-Free Topping: Replace oats with extra flour
- Butter Alternative: Plant-based butter works well
Ingredient Spotlight
- Raspberries: Naturally tart and juicy, perfect for baked desserts
- Butter: Cold butter creates pockets in the crumble, producing a crisp, golden, and crumbly texture during baking.
How To Make This Recipe
- Prep the Fruit: Toss raspberries with sugar, cornstarch, and lemon juice
- Transfer to Dish: Spread evenly in baking dish
- Make the Topping: Combine flour, oats, brown sugar, and salt
- Add Butter: Rub in until crumbly
- Top the Fruit: Loosely scatter the crumble evenly over raspberries. Do not press down, as loose crumbs create a crisp, golden texture.
- Bake: Bake at 375°F (190°C) for 35–40 minutes, until the topping is golden brown and the fruit is bubbling around the edges.
- Cool Slightly: Let rest for 10–15 minutes before serving to allow the filling to thicken properly.
Simple Raspberry Crumble
Ingredients
Equipment
Method
- Prep the Fruit: Toss raspberries with sugar, cornstarch, and lemon juice
- Transfer to Dish: Spread evenly in baking dish
- Make the Topping: Combine flour, oats, brown sugar, and salt
- Add Butter: Rub in until crumbly
- Top the Fruit: Loosely scatter the crumble evenly over raspberries. Do not press down, as loose crumbs create a crisp, golden texture.
- Bake: Bake at 375°F (190°C) for 35–40 minutes, until the topping is golden brown and the fruit is bubbling around the edges.
- Cool Slightly: Let rest for 10–15 minutes before serving to allow the filling to thicken properly.
You Can Also Try out Other Recipes
Make-Ahead and Storage Tips
- Reheat: Warm in oven at 325°F (165°C) for 10–15 minutes, or until heated through.
- Refrigerate Leftovers: Store up to 3 days
- Reheat: Warm gently in the oven
- Freeze Unbaked: Wrap well and bake from frozen
How to Serve This Dish
- With Vanilla Ice Cream: Classic pairing
- With Whipped Cream: Light and simple
- On Its Own: Warm from the oven
Creative Leftover Transformations
- Breakfast Topping: Spoon over yogurt
- Pancake Filling: Warm and drizzle on pancakes
- Oatmeal Add-In: Stir into cooked oats
- Dessert Parfait: Layer with cream
Additional Tips
- Adjust Tartness: Add a touch more sugar if needed
- Add Spice: A pinch of cinnamon works well
- Fresh Finish: Lemon zest on top brightens flavor
Make It a Showstopper
- Deep Golden Top: Let it bake fully
- Serve Warm: Contrast with cold ice cream
- Clean Slices: Use a spoon for rustic portions
Variations to Try
- Raspberry Almond Crumble: Add sliced almonds
- Lemon Raspberry Crumble: Extra zest in the filling
- Mixed Berry Crumble: Combine berries
- Vegan Version: Plant-based butter
- Coconut Crumble: Add shredded coconut
FAQ’s
- Can I use frozen raspberries? Yes. Do not thaw before baking. Add an extra ½ tablespoon cornstarch to compensate for additional liquid.
- Is this very tart? Balanced but pleasantly tangy
- Can I reduce the sugar? Yes, to taste
- Does it reheat well? Yes, gently in the oven
- Can I make it gluten free? Yes, with GF flour and oats
- Why is my crumble soggy? Topping may be underbaked
- Can I double the recipe? Yes, use a larger dish
- Is cornstarch necessary? It helps thicken the juices
- Can kids eat this? Yes
- How long does it keep? Up to 3 days refrigerated
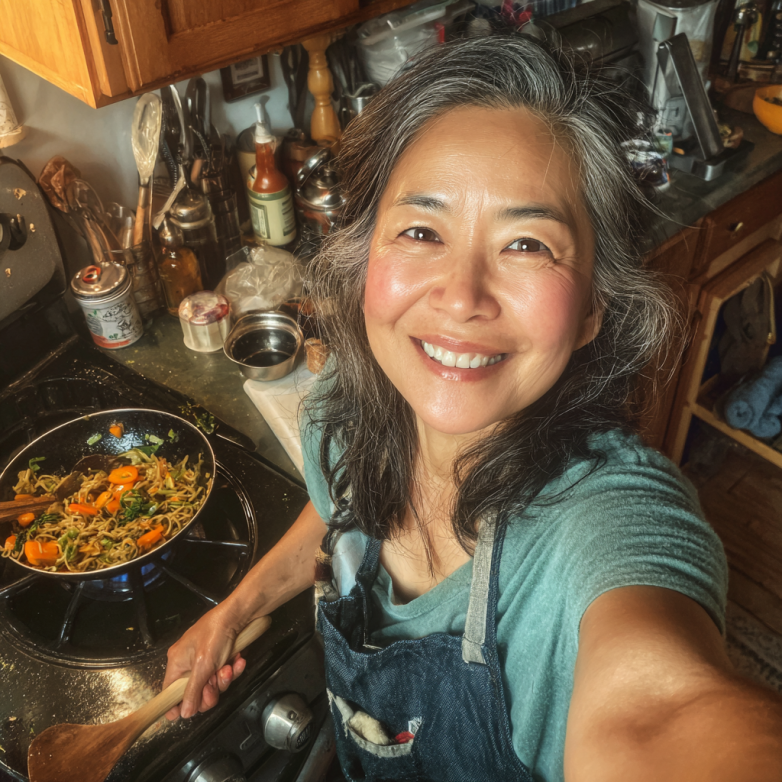
Hi, I’m Olivia Chen-Williams, a professional chef, cooking instructor, and the founder of Turn Around At 50. For nearly three decades, my life has revolved around kitchens. Not the quiet, romantic kind, but the real ones. Hot, loud, demanding, and deeply alive.
